
Export settings
Welcome to our step-by-step guide on how to import and export settings in Launcher. Exporting your setup allows you to apply previous settings to a new installation of Launcher, making it easy to replicate your preferred configuration across multiple devices.
In this guide, we will show you how to export your settings and import them onto a new device. By following these simple instructions, you can ensure that your Launcher settings are consistent across all your devices.
What can I export?
Every meeting room needs its own mailbox
Every meeting room needs its own mailbox
Every meeting room needs its own mailbox
After exporting the settings, it is recommended to create a dedicated room mailbox for each meeting room and connect individually.
After exporting the settings, it is recommended to create a dedicated room mailbox for each meeting room and connect individually.
Exporting settings
To export settings, follow these steps:
Open Settings and go to the General section.
Tap Export under the Export settings option.
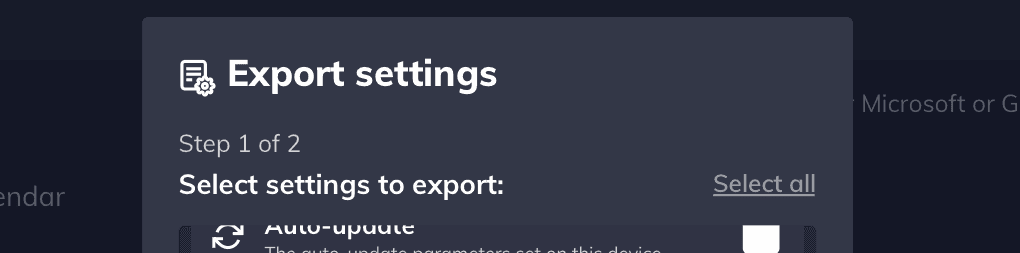
Select the desired settings to export by either tapping individual items or choosing Select all, and then tap Next.
Use the system file browser to choose a location to export the settings file (.lsf). Keep the default file name and do not rename it.
Once the export is complete, your settings will be saved to the selected location. At this point we provide you with instructions on how to import settings, which can also be read below.
To export settings, follow these steps:
Open Settings and go to the General section.
Tap Export under the Export settings option.
Select the desired settings to export by either tapping individual items or choosing Select all, and then tap Next.
Use the system file browser to choose a location to export the settings file (.lsf). Keep the default file name and do not rename it.
Once the export is complete, your settings will be saved to the selected location. At this point we provide you with instructions on how to import settings, which can also be read below.
Importing settings

To import settings, follow the steps below:
Open the installer and, if you are not using an administrator account, provide administrator credentials when prompted during the installation.
Select your preferred launch option using the Launch application on finish option.
You can choose to import settings from a previously exported Launcher installation by selecting Choose settings file and selecting the previously exported .lsf file.